Prepare project environments
To initially set up your Magento Commerce (Cloud) project, you need the Project Owner to create the project, add a super user, and generate Magento Commerce authentication keys. The account owner has sole authority over the project and account to manage your store, project and Git access, and more.
Important: The Project Owner is required to complete the following steps:
- Step 1: Generate Magento authentication keys
- Step 2: Add admin variables
- Step 3: Create the project
- Step 4: Add a Technical Admin account
After you have completed those tasks, the Technical Admin can manage development and deployments for you.
If you joined us with a 30-day free trial Magento Commerce (Cloud) account, we completed the following first steps for you:
- Created your Cloud account and project
- Provisioned the initial environment with a cloned Magento Commerce (Cloud) code base in a
masterbranch - Created an environment for the
masterbranch with a web server, database, and services - Added Magento authentication keys for the Project Owner
- Add the
ADMIN_EMAILvariable. You can add additional variables for the default admin account to access the Magento Admin panel.
Step 1: Generate Magento authentication keys
Any developers or users that want to access the project require Magento authentication keys. The Project Owner needs to generate Magento authentication keys (includes 1 public and 1 private) through a Magento Marketplace account for the project. When you first create your project, you will be prompted to add them.
To create authentication keys through the Magento Marketplace:
- Log in to the Magento Marketplace. If you don’t have an account, click Register.
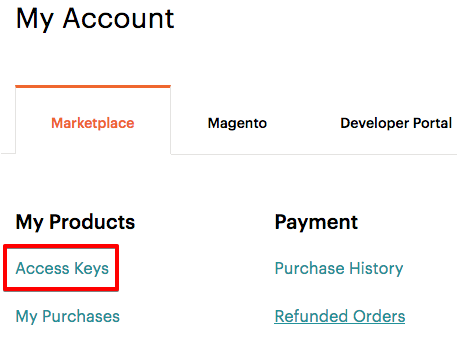
- Click your account name in the top-right of the page and select My Profile.
-
Click Access Keys in the Marketplace tab.
- Click Create A New Access Key. Enter a specific name for the keys, for example CloudProductOwner or the name of the developer receiving the keys.
- The keys generate a Public and Private key you can click to copy. Save this information or keep the page open when creating your project.
Step 2: Add admin variables for Admin access
Before creating the project, you must add a project variable for ADMIN_EMAIL. This sets the Magento Admin administrator account email. We use this email when resetting the administrator account password. The variable is added to the entire project and saved with every branch and environment.
You can set up the following variables:
ADMIN_EMAIL: Required. You must enter an accessible email address for the default Magento Admin administrator account.ADMIN_USERNAME: The default hardcoded value isadmin. You can optionally add a variable to change this username.ADMIN_PASSWORD: We generate a random password you are prompted to reset by email. You can optionally change the password by variable or use the Forgot Password? link on the Magento Admin for the store.
To add project variables for the administrator account:
- Log in to your Magento Commerce (Cloud) account.
-
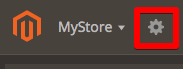
Click the Configure environment gear icon
 next to the Project name. If you are asked to create the project, click Continue Later.
- Select the Variables tab.
- Click Add Variable.
-
For the Name, enter
ADMIN_EMAIL. For the Value, enter your Project Owner email address or another accessible email for resetting the password for the default admin account.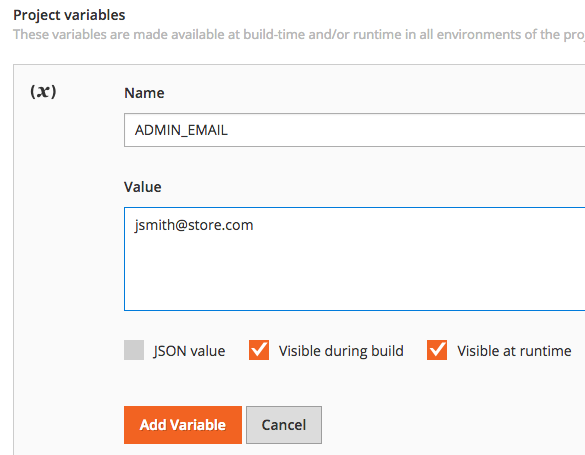
- Click Add variable. After you add the variable, the environment will deploy. Wait until deployment completes before more edits.
Optionally, you can also add variables for ADMIN_USERNAME and ADMIN_PASSWORD. By default, the admin username is admin. You should have changed the admin password as an onboarding task, using an email link the Project Owner received.
- Name:
ADMIN_USERNAME, Value: admin username of your choice - Name:
ADMIN_PASSWORD, Value: a password of your choice
Step 3: Create the project
The project contains all of your code branches, environments from development to Production, and allows you to manage access and configurations. After the Project Owner has signed up for a plan and logged in from the email, they can begin creating and managing the project.
The Project Owner creates the project, selecting the option for a blank site, which is a fully functional Magento template of a store and code. When created, we do the following:
- Generate a
masterbranch of Git code from a Magento template at themagento-cloud-configurationrepository - Add the authentication key information to
auth.jsonin yourmasterGit branch. When you clone and branch frommaster, the Magento authentication keys are carried over inauth.json. - For Starter, add it to a Production environment for
master - For Pro, add it to an Integration environment for
master
If you are concerned with creating the Project, you can create a Technical Admin and have them create the project. These instructions are for an account with one project. If you are a Magento Solution Partner,
- Access your account. You can open the email you received from Magento Cloud (accounts@magento.cloud) and click the Access your project now link. Or you can log in to your Magento Commerce account.
-
Click the This project has no code yet link next to the Project name.
-
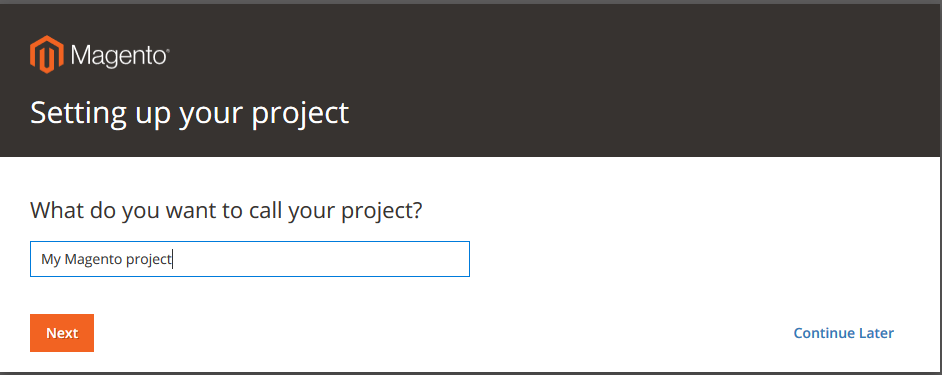
Enter a name for the project.
-
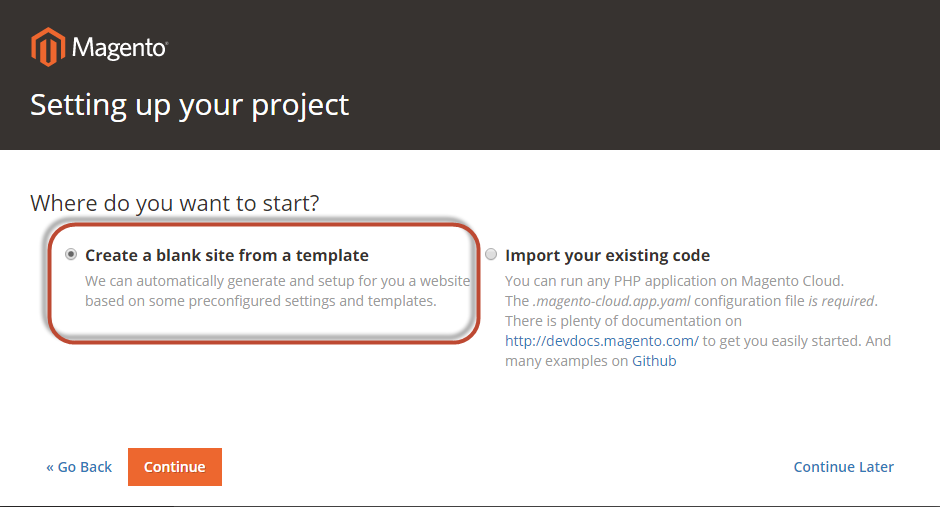
Click Create a blank site from a template and click Continue. We recommend starting with the Magento template as your initial project option. If you have an existing Magento deployment, you can later import code, extensions, themes, and data after fully deploying this base Magento code.
-
When prompted, enter your Magento Commerce Magento authentication keys in the provided fields. You created these keys earlier in the Magento Marketplace. Enter the private and public keys and click Finish.
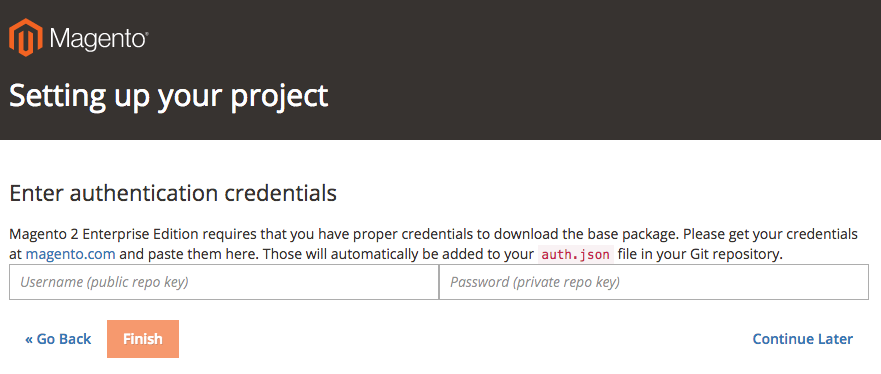
The keys are added to the
auth.jsonfile in the repositorymasterbranch, required for all created branches and deployments. -
Wait a few minutes while the project deploys. A status of Pending displays until completed, similar to the following:
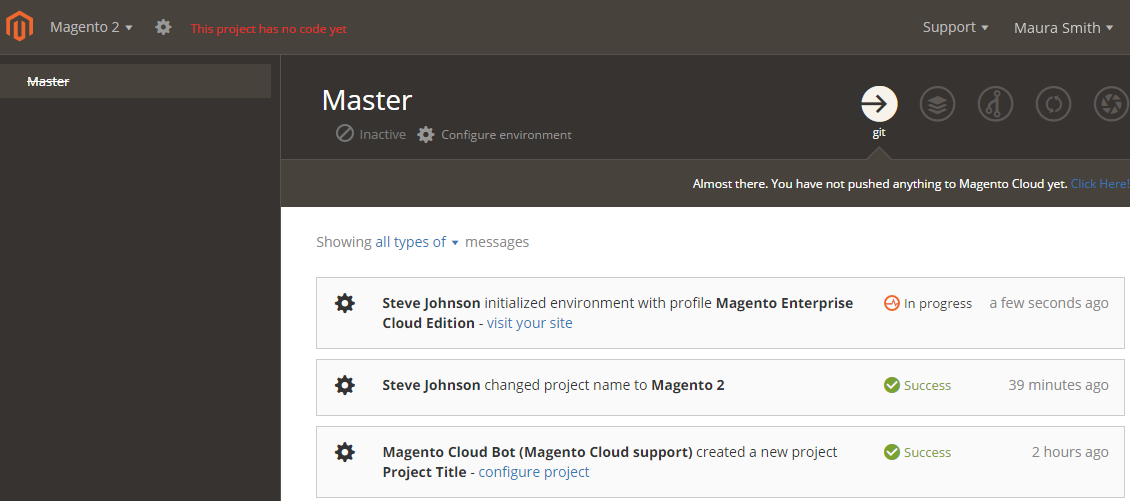
- After the project deploys, Success displays next to the name of your project.
Step 4: Create project admins and user accounts
You can now create user accounts to this project for a Technical Admin (super user), developers, administrators, and consultants that need access to the code. As discussed in more detail in Manage users, Magento Commerce (Cloud) has a number of user roles and permissions available project-wide or per environment.
Typically, the only user the Project Owner must create is the Technical Admin. This user should have the Super User role. Your Technical Admin can create user accounts for developers, set environment permissions, and manage all branches and environments.
Before you start, create a list of e-mail address for the users you want to add. New accounts receive an invitation to register with Magento Commerce (Cloud) and receive access based on the role. You can add and manage users at any time.
To create user accounts:
- Log in to your Magento Commerce (Cloud) account.
-
Click the configure project button next to project name in the top navigation bar.
-
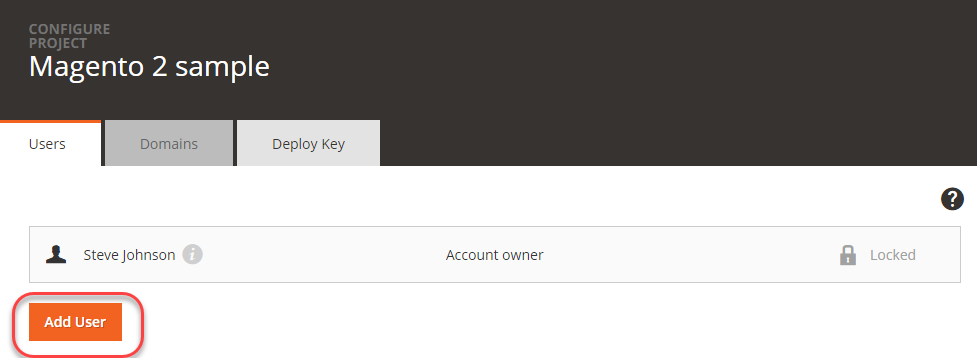
In the right pane, click Add Users.
-
Click Add User.
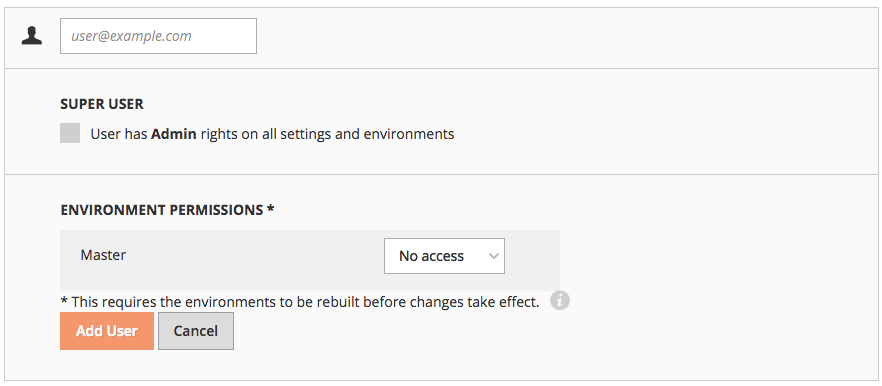
- Enter the user’s e-mail address.
-
Select the access for the account:
- For a project administrator account, select the Super User check box. This provides Admin rights for all settings and environments, including creating the project. If not selected, the account has only view options for all environments on a project and requires branch specific permissions.
-
Select permissions per specific environment (or branch):
- No access
- Admin (change settings, execute action, merge code)
- Contributor (push code), or Reader (view only)
- Click Add User.
As you add environments and branches, you can modify user permissions as needed. Added users receive an e-mail inviting them to join the Magento Commerce (Cloud) project. The user must follow the prompts to register an account and verify their e-mail address. They receive access based on the set project and environment permissions.